


How To Hang Pictures On Plaster Walls

When you go to hang something on a plaster wall, as opposed to a wall made from drywall, you will notice that it is not as easy. This is because of the materials that make up a plaster wall. Though it may not be the same technique, it is still easy enough to hang things on a plaster wall, so don’t give up too easily.
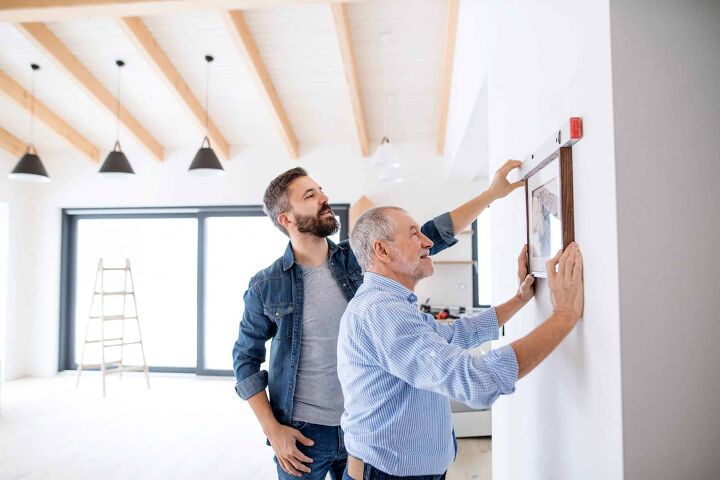
When hanging something on a plaster wall it is best to pre-drill the hole first. Put a piece of tape at the spot you will be drilling, as this will help keep the wall from crumbling. Once you mark the spot where you are going to hang your piece, drill a pilot hole that is relative to the size of the mounting hardware you are using.
If you are installing into a stud, screw in a screw leaving enough projecting from the wall for the picture wire to fit into. If you are hanging without the use of a stud, install a molly bolt to hold your piece up.
Do You Need Handyman Services?
Get free, zero-commitment quotes from pro contractors near you.

What is a Plaster Wall?
Plaster walls were primarily used circa 1940, since then builders have switched to using drywall. It is easier and faster to put up drywall than to build a plaster wall, as the process is more involved. To create a plaster wall, a builder will layer strips of wood, also called lath, on top of each other. This creates a solid, thick, and sturdy wall that is great for soundproofing.
This lath wall was connected to the studs, which ran from floor to ceiling. On top of the lath were several layers of plaster, creating a more stylistic wall than the smooth finish of drywall.
As more and more homes focus on the aesthetic, plaster walls are making a comeback. The rough, unique surface provides a throwback to an era when builders were able to imprint more character into their work. The drawback to plaster walls is that they are more brittle, harder to install, and as you will see, hanging things on them is not as straightforward.
Hanging Pictures
Tools for the Job
There are a few tools that you will need to be able to complete this task, those are:
- Strong Earth Magnet
- Stud Finder
- Drill
- Painters Tape/Masking Tape
- Drill bits
- Hardware for hanging
Finding the Stud
The best place to hang anything on a wall is where there is a stud. A stud is a piece of wood or metal that runs vertically from floor to ceiling. This is what the walls are attached to in order to keep them up. They are also able to hold a lot more weight. Studs are placed 16” or 24” apart from each other, if your house was built to code. This makes it easy, once you find one, to find the others.
To find a stud you will need an electronic stud finder or a strong earth magnet. Because the walls are secured into the studs using nails or screws, the stud finder and magnet will pick up on them.
Run the stud finder or magnet across the wall until you find a nail head. Once you do, mark that spot with an X or a piece of tape. Measure from there 16” or 24” to either side to find the next stud.
Take Measurements
Regardless of which method you choose, you will need to take measurements in order to find the right place to hang your art piece.
Measure from the floor to the top of the picture, while holding it against the wall where you want it to be. Mark where the top of the picture is. Then measure the back of the picture, from where the wire will be stretched, to the top of the art piece. Subtract this from the mark you just made and that is where you will need to put the screw in order for it to hang at the right height.
Securing into the Stud
If the stud happens to be in the location where you want to hang the picture, jackpot! This makes everything much easier.
Step 1: Drilling a Pilot Hole
Place a piece of tape over the mark that you made. This will help to keep the wall from crumbling when you need to drive in your screw. With your drill, drill a pilot hole in the wall at this mark. This helps guide the screw into the plaster. Because the plaster is thick and hard, it will be difficult to drive in a nail without cracking the wall. Since the lath is thin and has bounce to it, it will be harder to screw into without a pilot hole.
Step 2: Hang Your Picture
Screw in the screw, or the picture hanging hook, into the pilot hole. From here you just need to hang your picture, make sure it is level, and you are all set!
Securing into the Wall
If there is no stud where you want to hang your picture, there is another way to go. You will need to install a wall anchor to support the weight of the piece. You will want to go with a molly bolt as this can hold 30 – 50 pounds and is the most secure choice.
Step 1: Marking the Spot
Once you have measured and marked where you will need to install the hanging hardware, select a drill bit to make your pilot hole. You will want to select a size drill bit that is slightly smaller than your molly bolt. You will be tapping this in with a hammer and don’t want it to be floating around inside the hole.
Step 2: Drill the Pilot Hole
Using your drill bit, drill a clean and straight hole into the wall, through the plaster and lath. From here you will lightly tape in the molly bolt. Make sure to remove the tape once it is on the wall. Then you will use a screwdriver to tighten the molly bolt, securing it.
As you tighten the molly bolt, the mechanism on the inside of the wall will open up, securing it in place. Once it is secure, you will back it out of the wall so that it sticks out slightly.
Using Adhesive Wall Hooks
The easiest way to hang pictures would be to use adhesive wall hooks. These come in different sizes and are great for lighter art pieces. They are easy to install anywhere and do not require any tools.
The downside to using adhesive wall hooks is that they cannot hold a lot of weight. You must make sure to weigh whatever it is you are hanging first. Follow the directions on the packaging, as these will guide you in how much weight it can hold.
The other downside to using adhesive hooks is that plaster walls are usually not smooth. Because of this, it may be hard to get a solid grip. The wall must be as flat as possible to ensure that the adhesive has a strong connection and grip with the wall.
Step 1: Cleaning the Wall
Make sure that the wall is free of anything that will interfere with the adhesive coming into contact with the wall. Get a rag and some soap and water and wash the wall where you will be applying the wall hook. Make sure to give it time to thoroughly dry being adhering the hook to the wall.
Step 2: Installing the Adhesive Wall Hook
Peel off one side of the sticker off and apply it to the wall hook, pressing firmly in place for at least 30 seconds. This will give it a stronghold and is important to do on the hook side first. Once secured, press the hook against the wall where you cleaned a spot for it and hold it there for thirty seconds.
Do You Need Handyman Services?
Get free, zero-commitment quotes from pro contractors near you.
Related Questions
Do Command Strips Work on Plaster Walls?
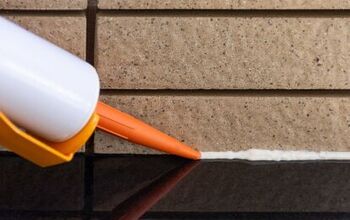
Using command strips is an easy way to go when it comes to hanging things on a plaster wall. They work great with small or medium-sized art and won’t damage the structural integrity of the wall. The only drawback is that when you remove them, if you don’t apply a remover first, they may pull some of the paint with them.
Can You Mount A TV on Plaster Walls?
Yes, you certainly can! You just need to make sure that you find a stud when mounting anything heavy, as walls are not meant to support a lot of weight.
How Much Weight Can a Nail Hold in Plaster?
An angled nail can hold about 20 pounds, but a standalone nail isn’t the best choice for hanging art.
Sean Jarvis is an interior decorator, writer, and expert handyman. Well versed in everything home improvement, he is a savant at manipulating words and spaces and upgrading everything around him. Sean specializes in writing concise guides about appliance repair and installation, home and lifestyle, and other residential projects.
More by Sean Jarvis


![How To Reset A Whirlpool Cabrio Washer [In 5 Easy Steps!]](https://cdn-fastly.upgradedhome.com/media/2023/07/31/9076531/how-to-reset-a-whirlpool-cabrio-washer-in-5-easy-steps.jpg?size=350x220)


